

You can hang some shelves without drilling when they are designed for that installation method and your wall, load, and location meet their instructions. You cannot safely assume that an ordinary screw-mounted floating shelf will work with adhesive strips instead.
Start with the job you need the shelf to do. A purpose-built lightweight display ledge may suit a small frame. Storing a row of books or kitchen equipment is a different load and may require a mechanically fixed shelf or a freestanding alternative. The method comes from the shelf system’s instructions, not from the number of adhesive strips you can fit behind it.
Decide what needs support
Place the items you intend to store together before choosing a shelf. Include the actual containers, frames, and accessories you would leave there. A little plant also includes its pot, soil, and water; a basket includes its contents.
Write down the intended location and use. Is the shelf for a light decorative object, regularly handled belongings, or storage that someone will reach for several times a day? Will anything project over the edge? Can someone accidentally pull it while retrieving an item?
Weigh the intended contents where you can do so accurately. Then read how the manufacturer defines the shelf’s capacity. Do not guess whether a published limit includes the shelf itself. If the wording is unclear, ask the manufacturer before proceeding.
Choose the system only after that check. More surface area behind a shelf does not create permission to use picture-hanging strips for a use they do not list. Nor does a product’s description as heavy duty establish that it can support any shelf.
Identify a shelf designed for its mounting method
Read the installation instructions for the exact product and revision you have. Confirm the mounting components, approved surfaces, load limit, preparation, waiting time, and removal method.
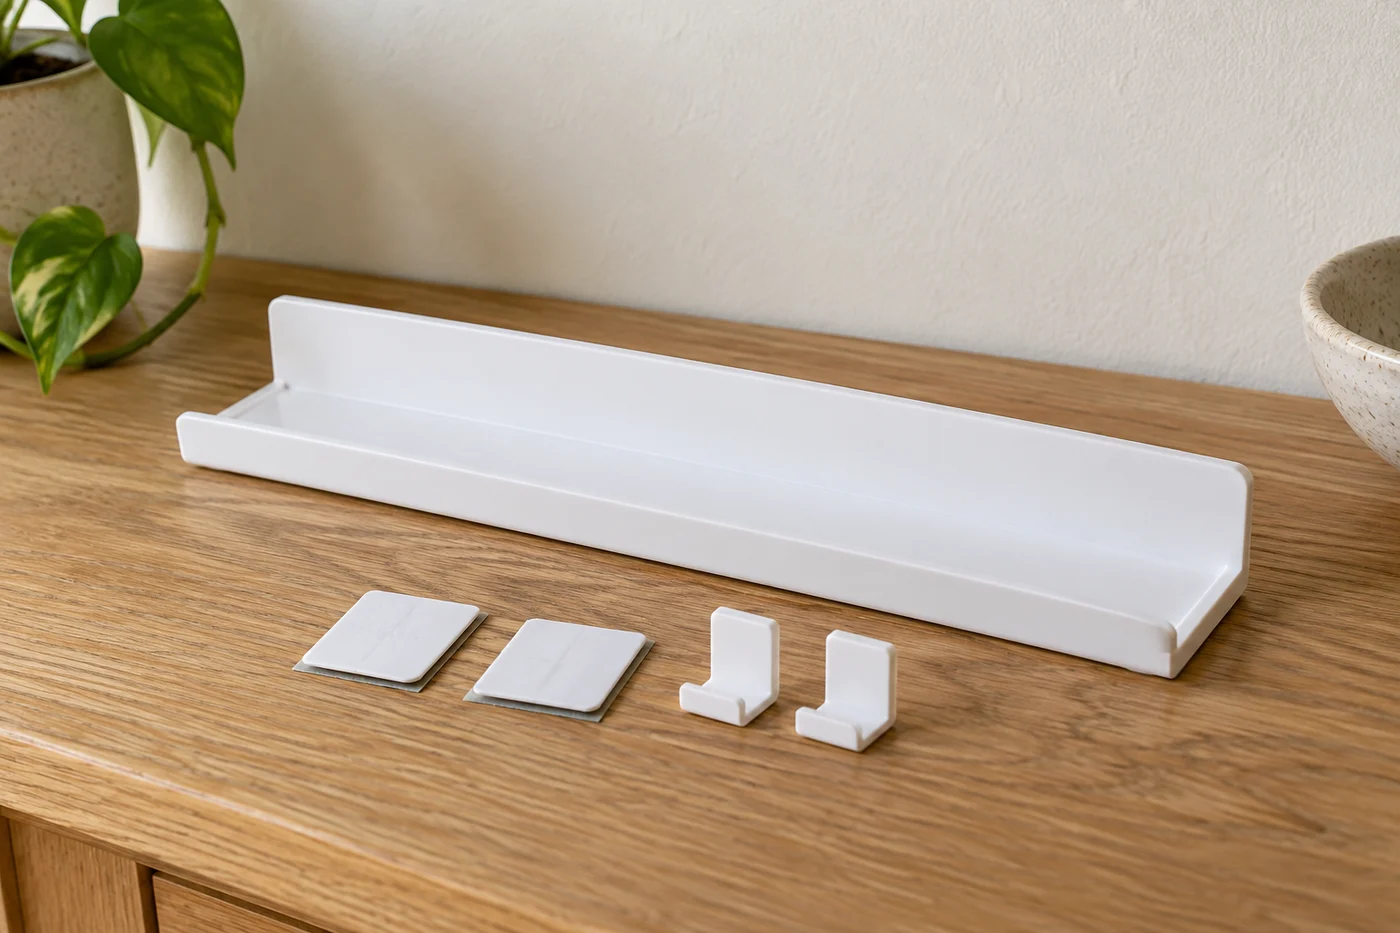
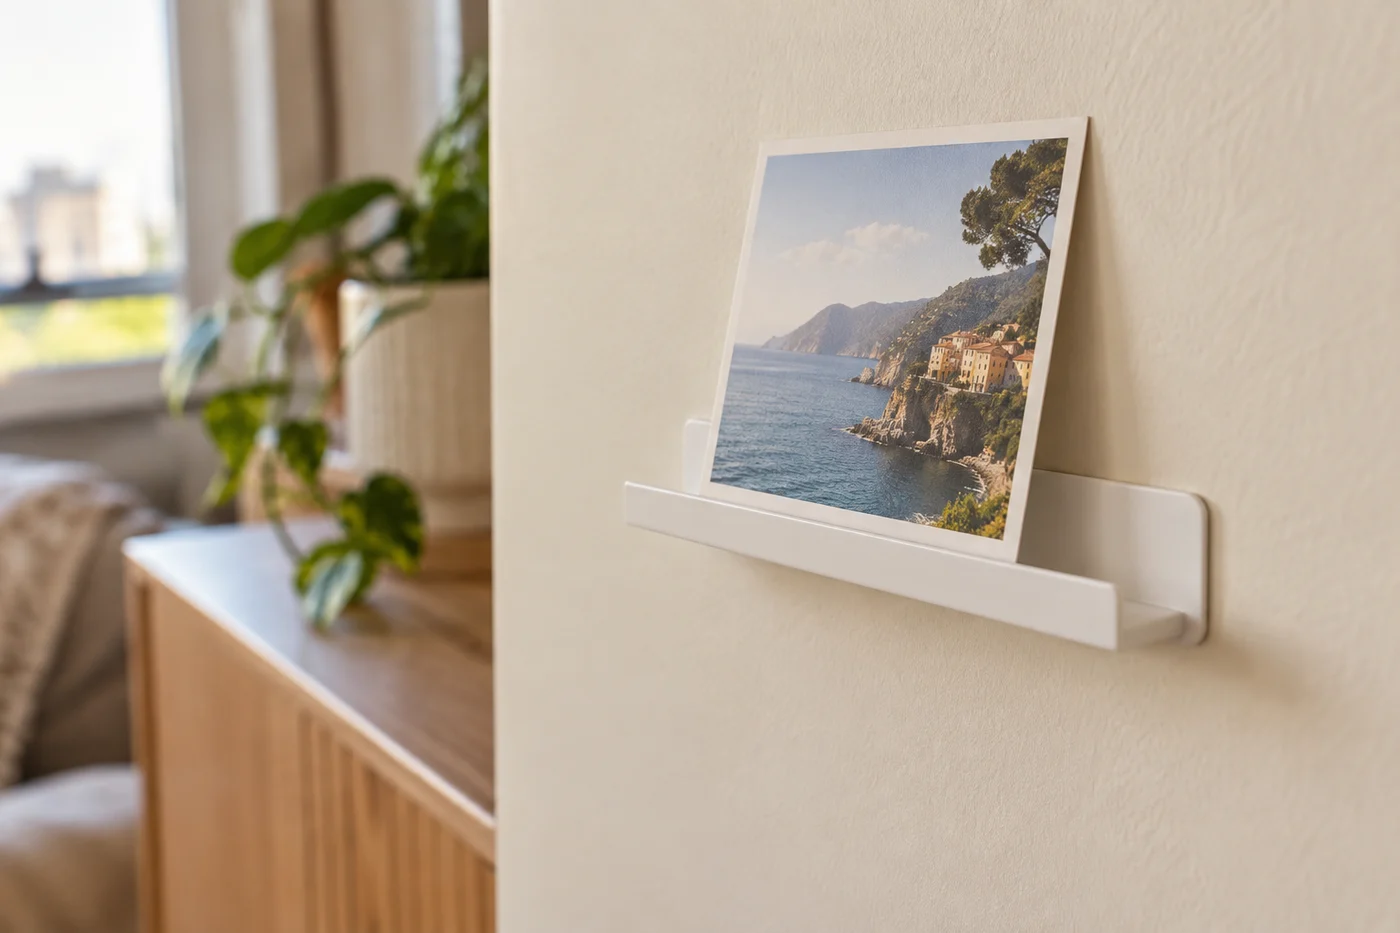
A purpose-built adhesive display ledge combines a shelf with a mounting method specified by its maker. Command’s bedside ledge project uses its own picture and display ledges and expressly directs readers to their package instructions. It is an example of a defined system, not proof that an unrelated wooden shelf can use the same strips.
A clamp system needs a suitable edge or support that the maker permits. A tension system needs suitable opposing surfaces and the correct span. These systems are not interchangeable with adhesive mounts, and this guide does not provide an improvised construction method for them.
If the shelf instructions call for screws or anchors, use those instructions with the required permission, or choose another shelf. Leaving out a fixing, substituting tape, or hanging the bracket from hooks changes the installation the maker specified.
Check the wall and location
Look at the actual surface. Smooth, sound paint is different from peeling paint, wallpaper, rough masonry, or a heavily textured finish. An adhesive product that lists one surface does not automatically suit another.
Check moisture and temperature conditions too. A product intended for a dry indoor room may not be suitable near a shower or outside. The surface also needs enough clear area for every mounting point and for removal later.
Command’s current FAQ tells users to check the package’s surface guidance, avoid unsuitable rough surfaces, follow the specified waiting time, and stay within the product’s weight limit. Those conditions remain product-specific. Follow the exact shelf package rather than importing instructions from a hook of a similar color.
Read your lease where attachments are restricted. No drilling does not mean an attachment is automatically permitted, and a damage-free marketing description is not a guarantee for weak or damaged paint.
Keep the chosen location away from places where a fallen object could cause harm. A small ledge over a bed or beside a cooking area deserves a different risk assessment from a ledge above an unused console. When the installation cannot be verified, choose a supported surface instead.
Follow a preparation and installation checklist
Once the exact product is suitable, use this checklist beside its instructions. It helps you avoid skipping a condition; it does not replace the manufacturer’s sequence.
- Confirm the shelf model and all required mounting parts.
- Record the permitted contents and the stated capacity.
- Check the wall finish and location against the approved surfaces and conditions.
- Mark the position using a removable method suitable for the finish.
- Prepare and dry the surface exactly as directed.
- Apply the specified components, orientation, and pressure in the stated order.
- Wait the full specified period before adding any load.
- Add only the intended contents, within the verified limit.
Do not substitute a household cleaner for a preparation method without permission from the instructions. Do not shorten the waiting period because the ledge feels attached.
If parts are missing or the instructions are unreadable, stop and retrieve the correct documentation. A visually similar strip is not necessarily the required replacement. Keep the package or an accessible copy of the instructions for removal.
Keep the load within the verified job
A shelf can gradually collect more belongings after installation. Keep its intended contents clear, particularly if another person may add books, a full bottle, or a heavy pot.
Do not add extra strips to invent a higher rating. Command’s FAQ says to use the number specified in the instructions and notes that adding strips does not necessarily increase capacity. If the intended load exceeds the shelf’s limit, change the storage arrangement.
Avoid using the shelf as a handhold. Check that retrieving its contents does not require leaning on the ledge or tugging against the mount. If frequent use creates that motion, a tabletop organizer may be a better location for those belongings.
If you notice shifting, a loose component, surface damage, or another sign the system is not secure, remove the contents safely and consult the instructions or manufacturer. Do not hide the problem with another strip or treat a short initial hold as a durability test.
Plan removal before the shelf goes up
Read the removal instructions before deciding the final location. A release tab may need clear space below or beside the mounting point. A shelf placed tightly against another surface can make the specified removal method inaccessible.
Use the sequence for the exact mounting system. Stretch-release adhesive, a clamp, and a tension assembly remove differently. Do not pry a mount away from the wall simply because that seems quicker.
If a tab breaks or a component sticks, consult the maker’s troubleshooting instructions. Avoid borrowing a solvent or heat method from an unrelated product; those methods may affect the paint or surface differently.
After removal, check which components can be reused and which need replacement. Keep reusable parts together with the product instructions so a future installation begins with the right system.

Choose a supported alternative when mounting is unsuitable
A freestanding shelf, tabletop riser, or shelf insert may answer the same storage need without hanging anything on the wall. Check its load, footprint, and stability, and follow any required anchoring instructions. Freestanding does not automatically mean an item needs no restraint.
You might also move one category to an existing shelf and free a surface you already own. For a kitchen with limited built-in storage, see storage ideas without cabinets.
The useful outcome is a place for your belongings that suits the room and its permitted installation methods. If a wall-mounted shelf cannot meet those conditions, choosing another location is a complete solution.
Common questions
Can you attach a standard floating shelf with picture strips?
Only if the exact shelf and mounting product instructions expressly support that combination. A rating for a picture frame does not establish compatibility with a projecting shelf.
Does no-drill mean the wall cannot be damaged?
No. Surface condition, preparation, installation, use, and removal all matter. Follow the exact instructions and lease conditions, and avoid guaranteeing a damage-free result.