
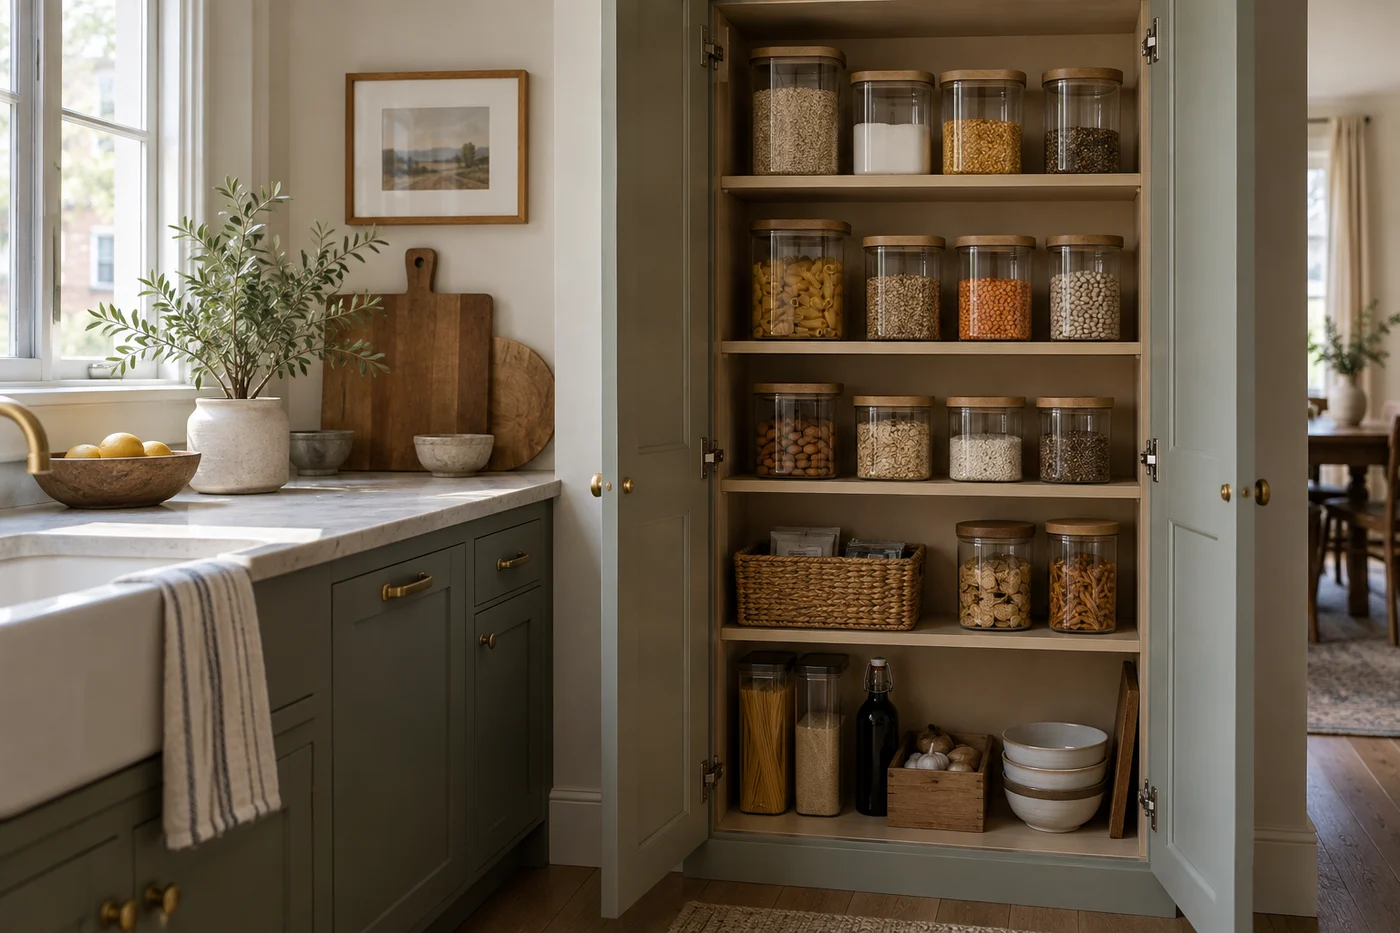
To organize a narrow pantry, give the easiest shelves to foods you use regularly, group small packages into removable categories, and make the back of each shelf reachable. Start with the pantry you already have before buying bins or replacing every package with a matching jar.
The main problem is often not a shortage of shelf area. It is the number of items you have to move to reach one ingredient. This guide helps you reduce that retrieval work in an existing narrow pantry. If your kitchen has no pantry at all, use the separate no-pantry organization guide.
Find the obstruction before choosing an organizer
Empty one shelf onto a clear work surface. Look at the usable opening, not only the width between the pantry walls.
Door hinges can narrow the entrance. A face frame can leave less room at the front than at the back. A shelf may be deep enough for a bin that cannot pass through the opening. Check all three places before considering a container.
Write down the usable width, depth, and height for each shelf. Measure with the door in the position it normally reaches. If there are fixed rails or an uneven wall, include them in the sketch.
Also check where you can stand. A narrow walk-in pantry with shelves on both sides may have ample storage but little room to turn while holding a basket. A pantry cabinet may be easier to use with one shelf cleared for daily ingredients than with every surface fully packed.
Next, name the retrieval problem. Are tall packages hiding shorter cans? Are small sachets falling behind larger boxes? Is a deep shelf holding too many unrelated foods? Choose the arrangement that solves that specific problem.
Sort food into working groups
Group the foods on your work surface according to what you actually cook. Possible groups include breakfast, baking, quick lunches, dinner staples, and unopened refills. Use the groups that match your household rather than a label set designed for someone else’s pantry.
Keep the contents manageable. A baking bin should not also become the place for tea bags, pet supplies, and spare batteries. Once a category contains unrelated tasks, it loses its purpose.
Separate an opened package from its unopened replacement. Put the opened item where you will use it first, with the replacement in a clearly identified reserve area. Avoid several open bags of the same food in different corners.
Check package storage instructions during sorting. Some foods need refrigeration after opening, even when the unopened package belongs on a pantry shelf. USDA’s shelf-stable food guidance explains that distinction and recommends a cool, dry storage location.
Do not use the pantry as a convenient home for cleaning chemicals. Keep food storage separate from those supplies and preserve access for cleaning the shelves themselves.
Decide what deserves the easiest shelf
Choose a shelf you can reach comfortably while standing where the pantry lets you stand. Put regular-use foods there, especially ingredients you reach for while cooking.
Less frequently used packages can occupy the harder-to-reach places if you can retrieve them safely. Avoid putting heavy packages overhead simply because they are used infrequently. Consider the weight when full and how you will bring it down.
Keep a household routine together. If breakfast involves oats, cereal, and tea, those items can share a reachable zone even though a supermarket would put them in different aisles. A dedicated group reduces the number of locations you need to check.
Put reserve stock in one place. When you open a replacement, move it into the working zone and add the missing item to your shopping list. This creates a visible relationship between what you are using and what remains in reserve.
Leave enough space to return an opened package. If putting it away requires compressing bags into the shelf, the arrangement is already too crowded.
Use shallow shelves differently from deep ones
On a shallow shelf, try a simple front-facing row first. Keep shorter packages where you can see them, and align tall packages so they do not conceal the contents beside them. A bin is optional if each item is already easy to identify and retrieve.
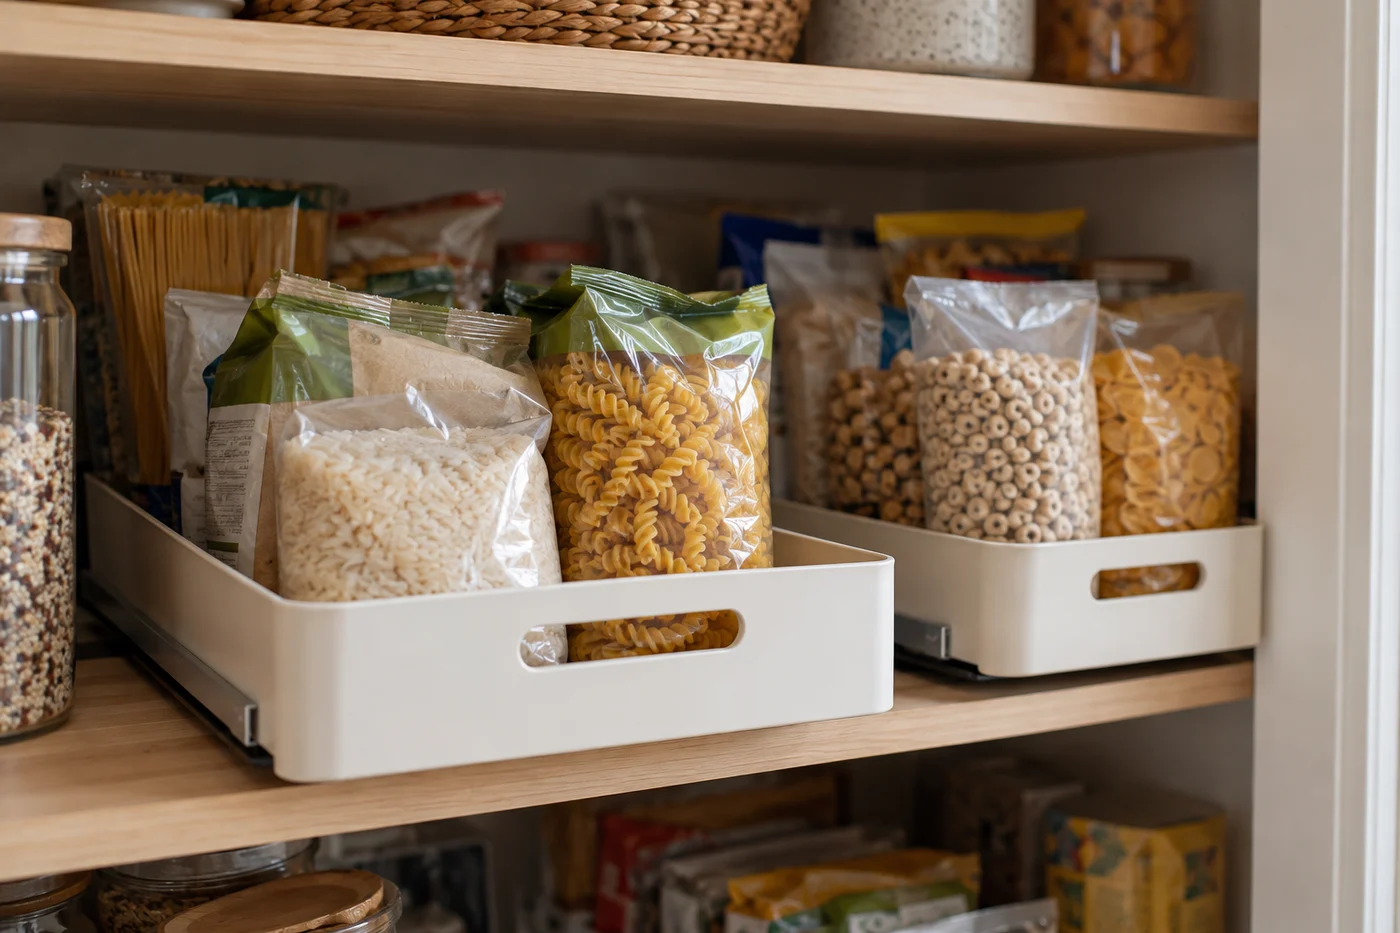
On a deep shelf, assign the depth a job. One removable container can bring a category forward together. Alternatively, put a regularly used package at the front and its matching refill behind it. Avoid using the rear as an unlabelled second pantry.
A pull-forward bin is useful only when you can move it. Check its loaded weight, handle position, shelf edge, and the space outside the pantry. Smaller category containers may be easier than one full-width basket packed with cans.
A riser can expose smaller items, but its legs and upper surface take room too. Compare the proposed arrangement with simply storing one row of cans at the front. You do not need a tiered stand if it makes packages harder to remove.
A turntable needs enough room to rotate without hitting the wall, door, or neighboring items. In a particularly narrow pantry, its circular footprint may not suit the shelf. Try the shape with a paper template before deciding it solves your problem.
Keep labels and dates available
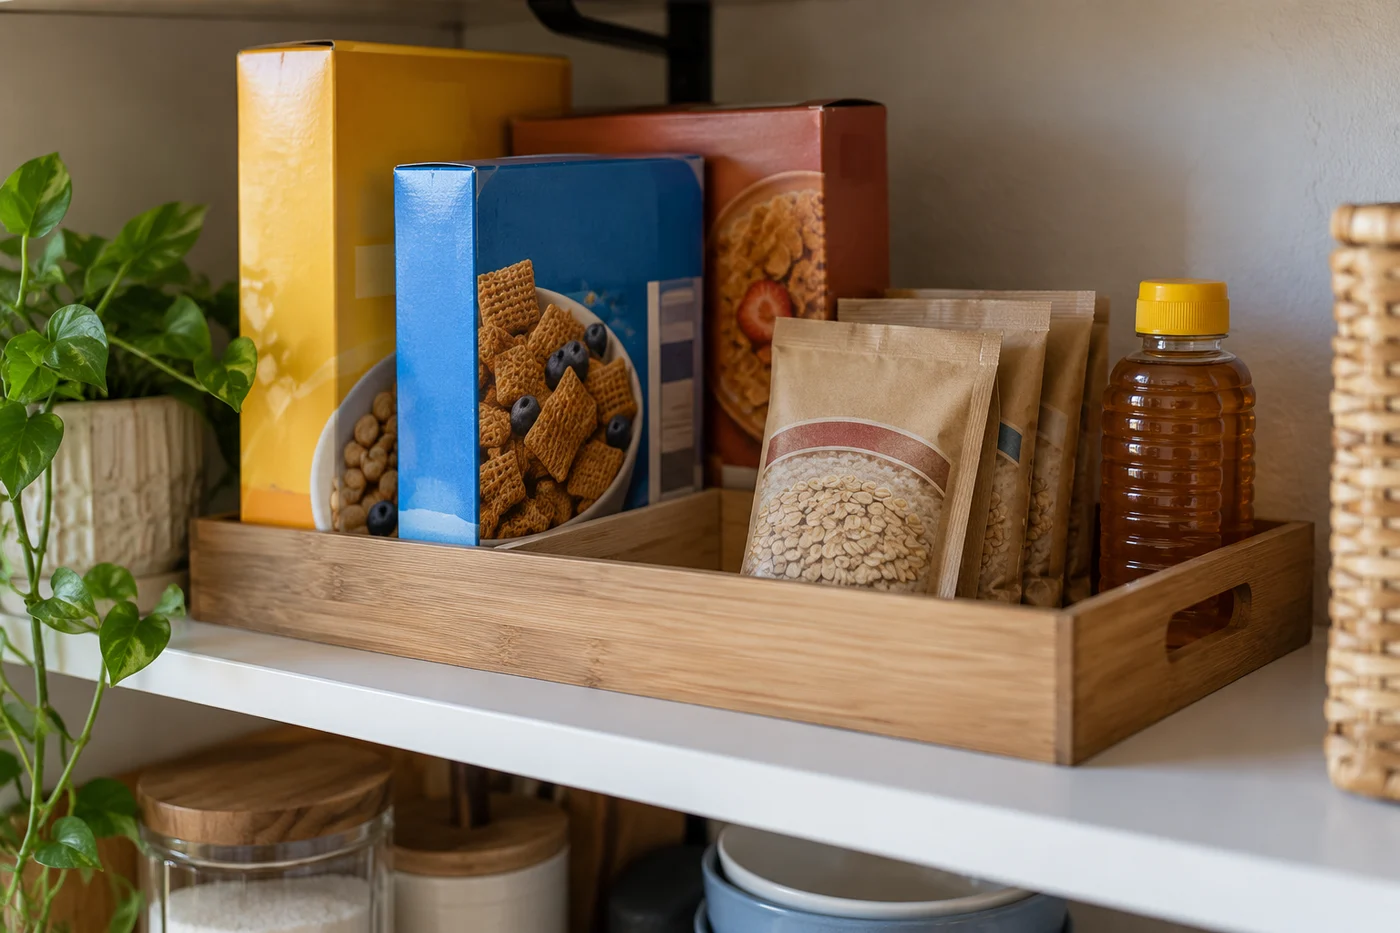
You do not need to decant every food. Original packages already carry ingredients, preparation instructions, allergen information, and storage directions.
If you transfer food into a suitable container, preserve the relevant package information and identify what is inside. Do not pour a new purchase over an older batch simply to keep the jar looking full. Finish or separately identify the older contents first.
Use clear category labels where they help someone else return an item. A label such as baking supplies is useful when the bin consistently holds those ingredients. Elaborate shelf labels are less useful if foods keep moving between categories.
USDA’s food product dating guidance explains that many date labels describe quality rather than safety. Do not turn one label into a blanket rule for all food. Follow the specific product’s instructions and inspect packages rather than relying on a decorative pantry system.
Check the door before using it for storage
The door may offer storage, but it is also part of the pantry opening. Any organizer must leave the door able to close and avoid collisions with shelves and packages.
Measure its depth when loaded, not just empty. A bottle or box can project beyond a pocket even when the organizer itself is shallow. Test slowly with the actual item sizes before adding the entire category.
Follow the door organizer’s mounting and load instructions. Do not assume a screw-mounted system becomes no-drill storage by leaving out a fixing. If you cannot verify a suitable installation, keep the door clear.
Reserve door storage for a small, clear task rather than distributing your whole pantry across many tiny pockets. That keeps the main shelf groups understandable.
Reset the pantry when groceries arrive
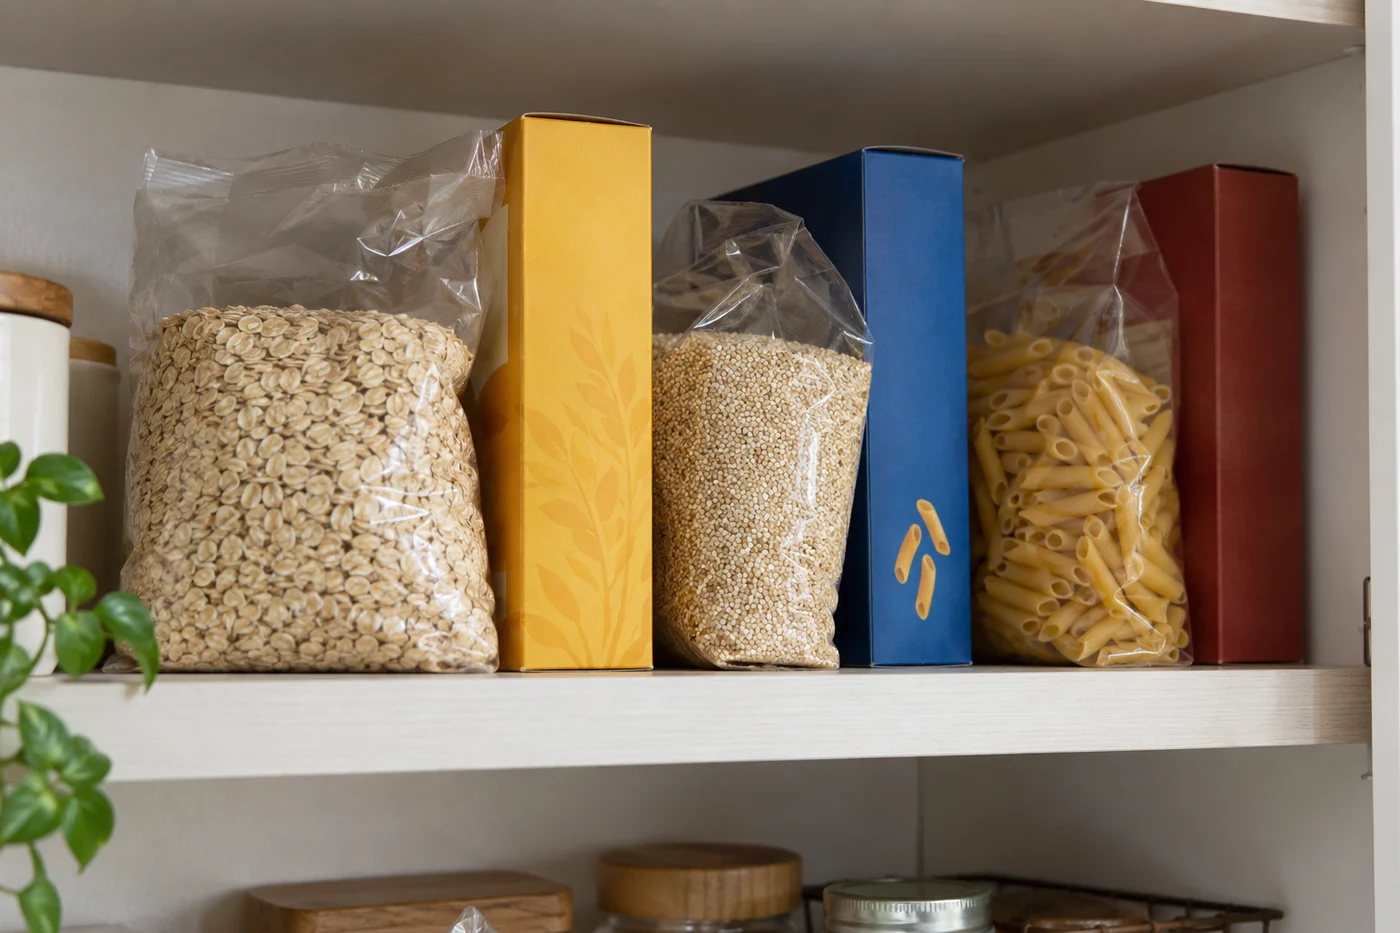
Before putting groceries away, check the working groups and the reserve area. Identify what is already open. Move older suitable stock forward and put the replacement in its assigned place.
If the group no longer fits, inspect the category before adding another container. You may be buying more than the shelf can conveniently hold, keeping an unused ingredient, or mixing several tasks into one zone.
Clear crumbs and check for spills as you reset. A removable category bin should make shelf cleaning easier, not conceal a sticky package indefinitely.
After a week of meals, notice which items stayed in the wrong place. Adjust the categories to the way you cook. You are building a pantry that supports your routine, not reproducing a photograph.
Common questions
Is matching clear storage essential?
No. Use suitable original packaging and containers you can retrieve easily. Choose new containers only when they solve a specific access or storage problem.
How do you organize a skinny pantry with deep shelves?
Give each deep section a defined category or matching reserve stock. Keep the front accessible and use smaller removable groups where they help you reach the back without unloading the whole shelf.