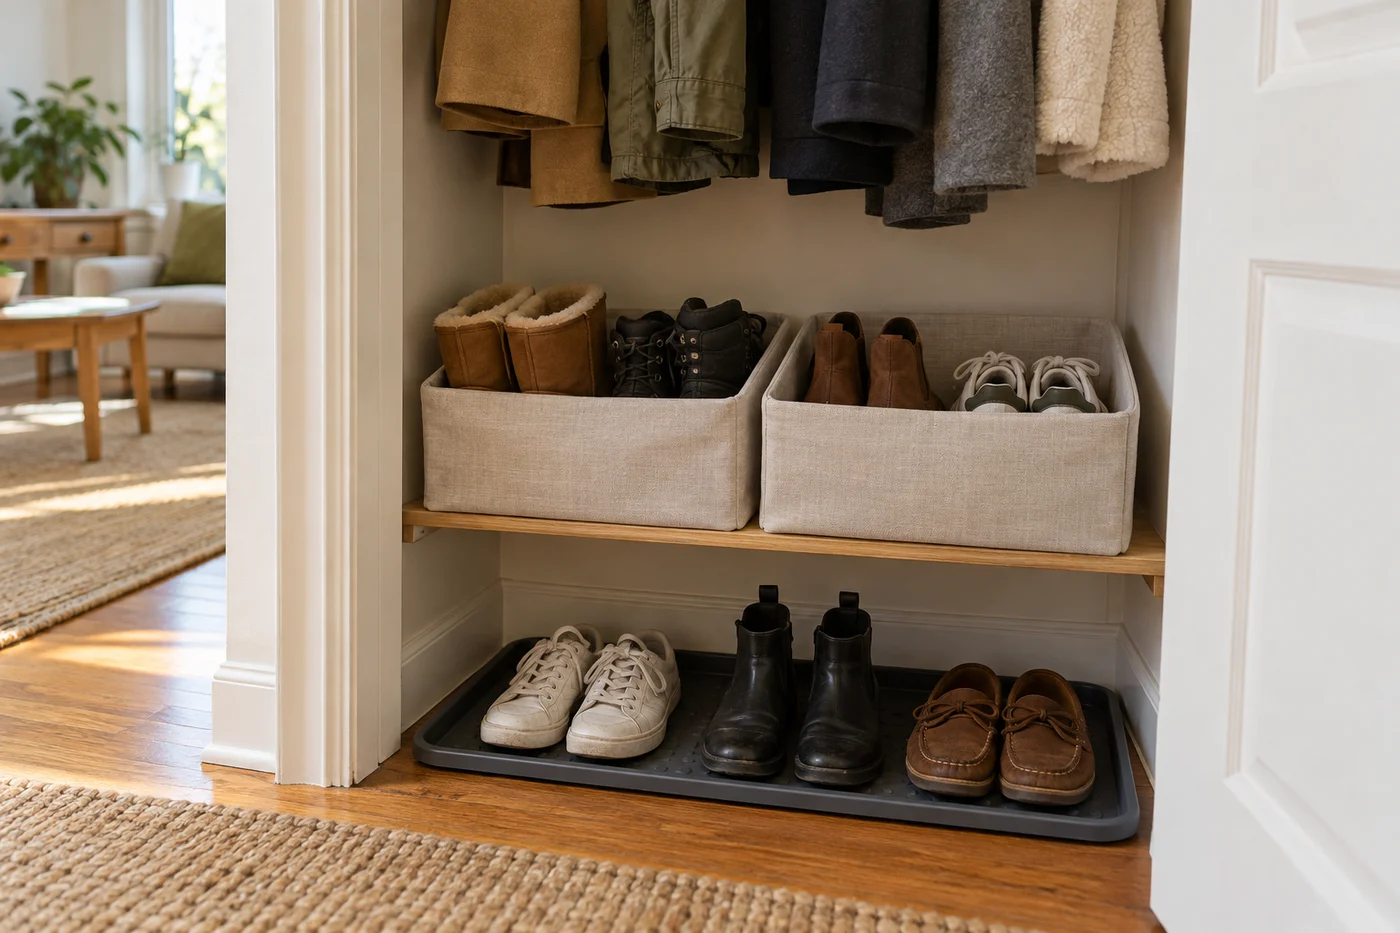
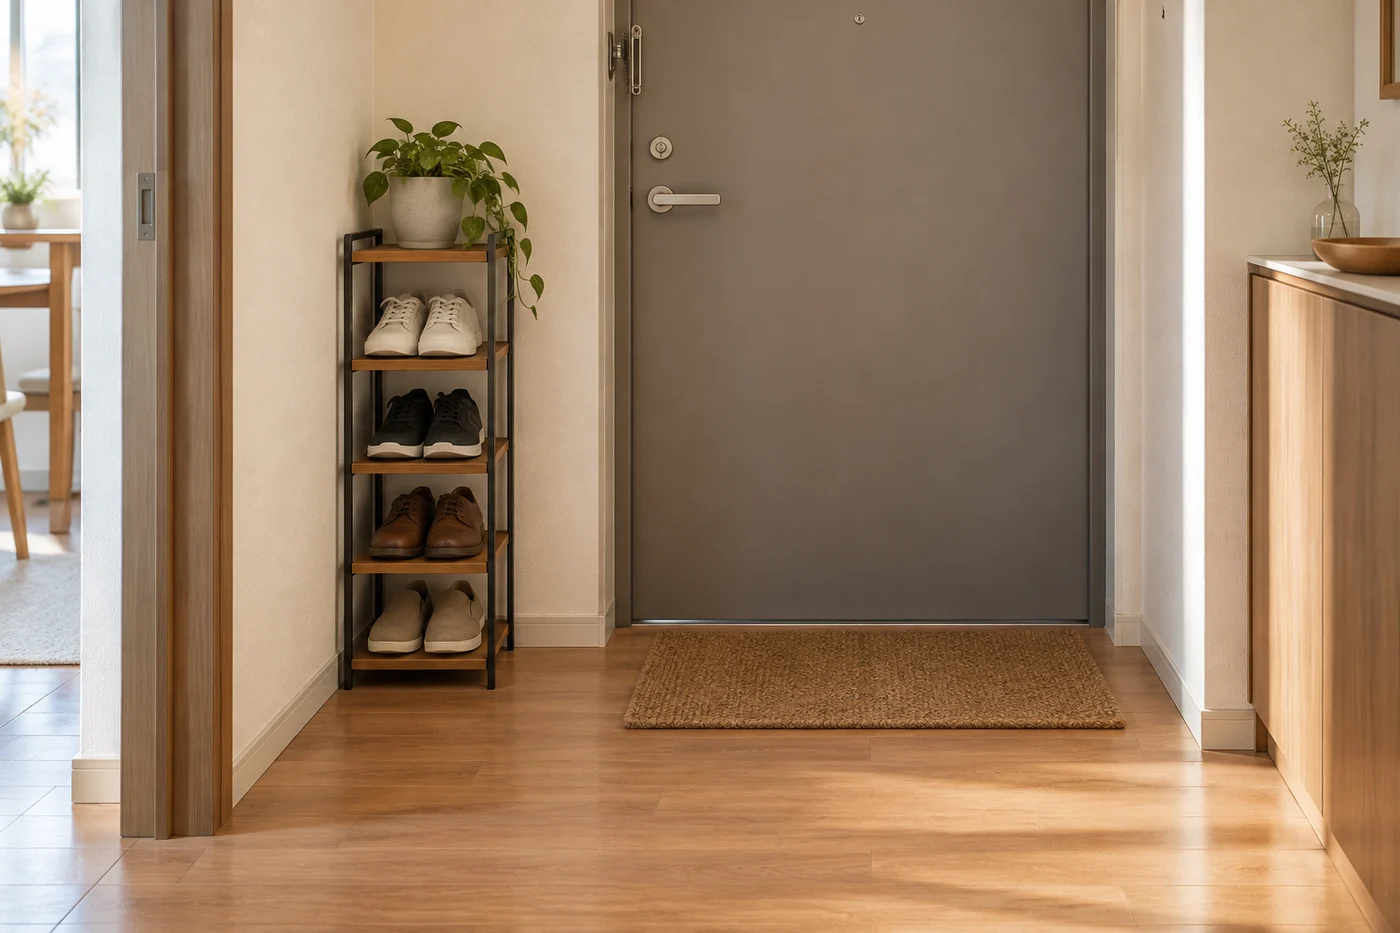
Small entryway shoe storage ideas start with the shoes you need by the door, not your entire collection. Set aside your current daily pairs, check the space with the door open, and decide where footwear can sit without entering the walking route. Then choose an arrangement that accepts your actual shoes and is easy to clean.
A narrow cabinet can hide clutter, but it may exclude larger footwear or require wall fastening. An open rack makes pairs visible, but it still occupies floor space. Your choice depends on your shoes, your entrance and the people returning them each day.
If the entrance cannot hold your reserve pairs, compare under-bed shoe storage before adding another unit beside the door.
Set a doorway capacity from your routine
Gather the shoes currently scattered near the entrance and pair them. Separate the shoes you use now from occasional, off-season and unwanted footwear. Include slippers if you change into them at the door, and wet-weather footwear if you need it during the current season.
Keep the daily selection realistic. If you alternate work shoes and sneakers, plan for that change rather than asking yourself to fetch a pair from a distant cupboard every day. A pair used several times a year does not automatically need doorway storage.
For a shared entrance, agree which pairs each person needs nearby. Let the available arrangement define the practical limit after checking fit. If the daily selection is too large for the safe space, move part of it to a nearby closet. A bigger rack cannot create more usable hallway depth.
Give reserve pairs a specific destination and return them there when they rotate out. Otherwise the entryway limit will exist only on paper while a second pile forms beside the rack.
Measure shoes and access before choosing storage
Use your longest everyday shoe, widest pair and tallest boot to assess the storage. A pair’s combined width matters as much as the length of one shoe. Leave room to grasp your footwear without dislodging the next pair.
Record a shelf’s usable interior width and depth, not just its outside dimensions. Dividers, panels and tilted compartments reduce the area available. For a closed unit, check how the compartment opens and whether shoes fit in the intended orientation.
Check the path from the entrance to the storage. Open the front door and adjacent doors. Include a cabinet’s opening movement and where you will stand to use it. Check a bench with someone seated rather than counting its closed footprint alone.
For existing shelves, place actual clean shoes on them. For a new unit, compare published internal dimensions with your footwear when those measurements are available. Treat an advertised pair count as a starting question, not confirmation that your mix of boots and large sneakers fits.
If only outside dimensions are available, you cannot reliably calculate shoe capacity from them. Seek the compartment measurements, inspect the unit if possible, or choose a format you can assess before committing to it.
Choose a format for the shoes you have
| Arrangement | Useful when | Check before choosing |
|---|---|---|
| Low open rack | You want visible pairs and easy returning | Shelf depth, tall footwear space and cleaning underneath |
| Shallow closed cabinet | You want dry everyday shoes out of sight | Interior compartments, opening space and required attachment |
| Small basket | You have a modest group of sturdy dry footwear | Whether retrieving a pair means digging |
| Bench with storage | Sitting to change shoes is a real need | Intended sitting use, knee space and compartments |
| Nearby closet shelf | The doorway cannot accommodate furniture | Access and separation from clothing hems |
Choose from the task rather than the look alone. A basket may suit house slippers yet frustrate several adults storing lace-up shoes. A compact cabinet may look tidy while requiring you to angle every pair differently each time you close it.
Give tall boots an appropriately sized location. Keep footwear you want to protect from contact in suitable separate storage rather than a shared pile. Consult the shoe manufacturer’s care guidance if you are unsure about its storage needs.
Treat wall attachment as part of the decision
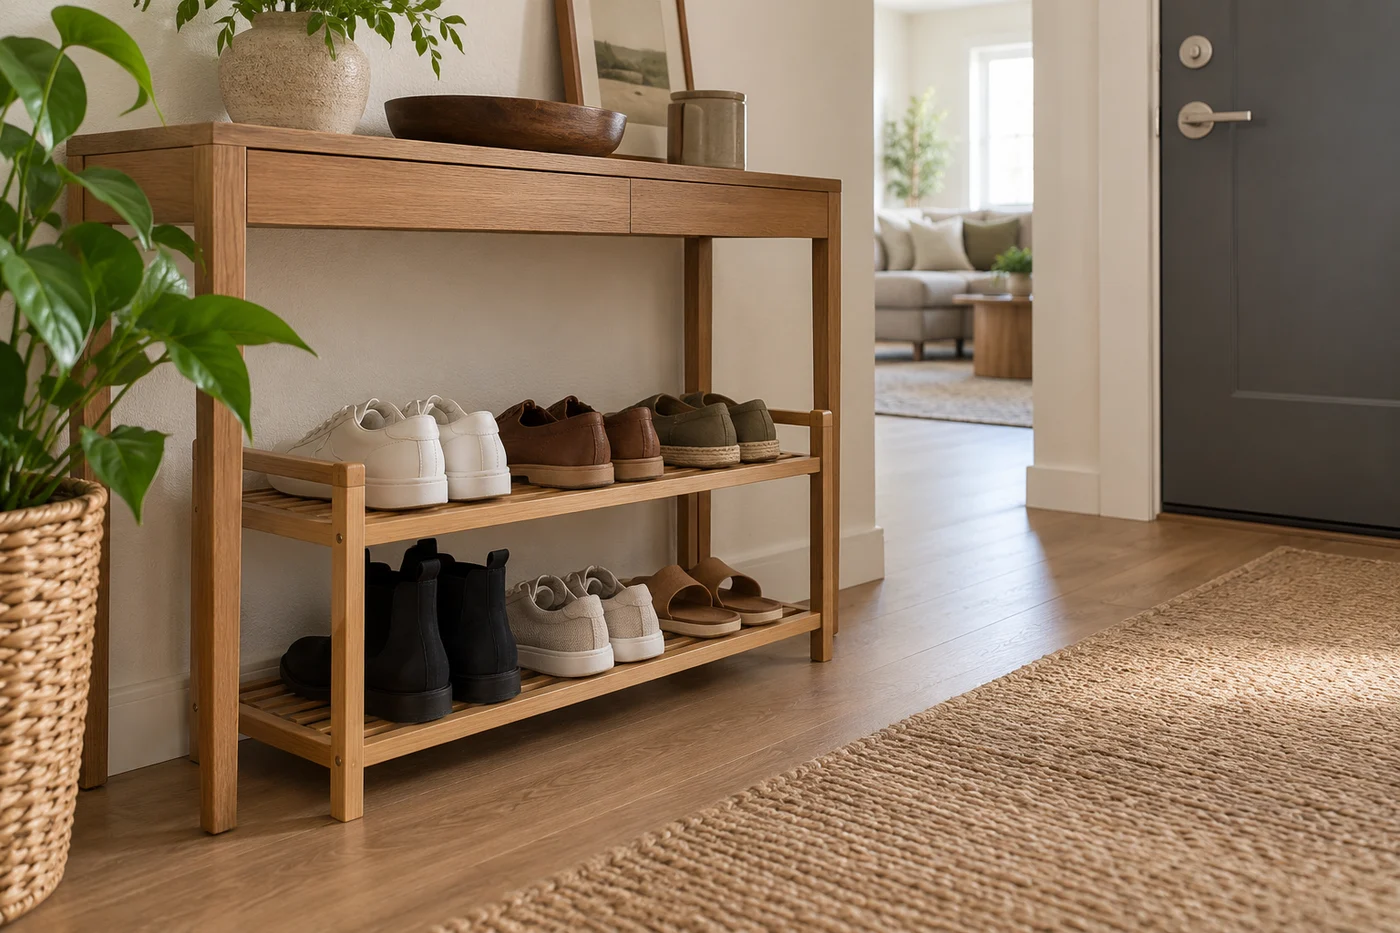
Some shoe cabinets cannot be used as freestanding furniture. For example, IKEA states that its STALL cabinet must be fastened to the wall. That is an installation requirement for this unit, not a suggestion to replace with any available adhesive.
Read instructions before purchasing or assembling storage. Check the wall, baseboards and suitable fasteners. If your lease prevents required installation, choose another arrangement or seek permission for the specified fastening method.
The CPSC’s furniture guidance also stresses securing furniture according to manufacturer instructions. A low appearance or heavy contents does not let you ignore the product directions.
Use stackable racks only in permitted configurations. A photograph of two matching racks placed on top of each other is not evidence that your unit is designed to stack. Plan its complete installed height and access before filling it.
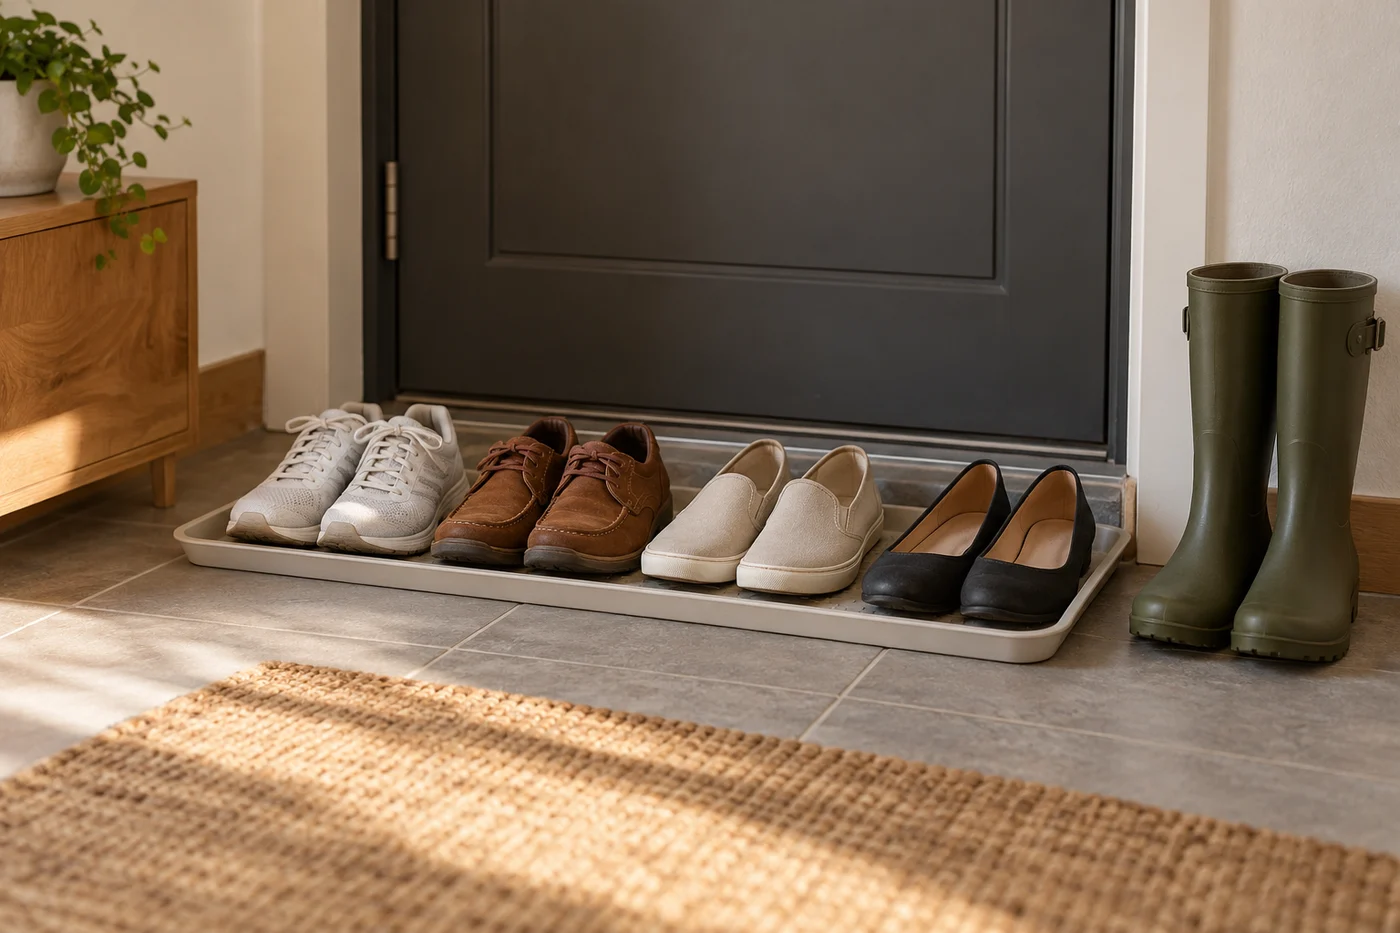
Give wet footwear a temporary place
Set aside a washable tray or other surface suited to your floor for footwear arriving wet or dirty. Keep it outside the entrance swing and walking route. Position it so you can reach the shoes without stepping over another person’s pairs.
Follow your footwear’s instructions for cleaning and drying before moving it into enclosed storage. This guide does not prescribe a heater, drying temperature or universal drying time. Those depend on the material and care guidance.
Plan what happens after wet shoes are ready to put away. If the temporary tray becomes permanent storage for several days of footwear, the daily selection may need a different location. Remove grit and water according to the floor and tray care instructions.
A decorative basket can hide dirt as well as shoes. Choose it for suitable dry pairs, and check its bottom during cleaning. The temporary wet-weather location and permanent shoe home can be different spaces.
Arrange storage for the people using it
Put a child’s everyday shoes where the child can retrieve and return them without moving adult pairs. Keep the location obvious. Consider whether opening a lid or lifting a container adds a step the child cannot manage easily.
For someone who needs to sit while changing shoes, choose a safe seating arrangement first. Storage can be adjacent if fitting shoes under the seat makes it cramped. Check intended furniture use rather than turning a shoe rack into a seat.
Shared storage works better when returning a pair does not require reorganizing the whole shelf. Divide a shelf by person, or group by use if everyone recognizes that arrangement. Pick the method your household can follow.
If shoes still land elsewhere, watch where people change them. Move the storage closer to that location if access remains clear. The entrance may be too tight while a nearby closet or bedroom corner offers a workable home.
Keep cleaning and rotation simple
Leave a way to reach the floor, remove the tray and inspect the storage. A rack packed against several surfaces may make grit harder to remove. Check its care instructions before choosing cleaning products.
When another pair enters the daily selection, decide which existing pair moves to reserve storage. Recheck the arrangement when winter boots replace lighter shoes. The space required can change even when the number of pairs stays the same.
You need to find the pair you want, return it without rearranging other shoes, and open the entrance freely. Start by setting out your daily pairs in the available safe footprint. Add storage only if it solves a remaining problem.