
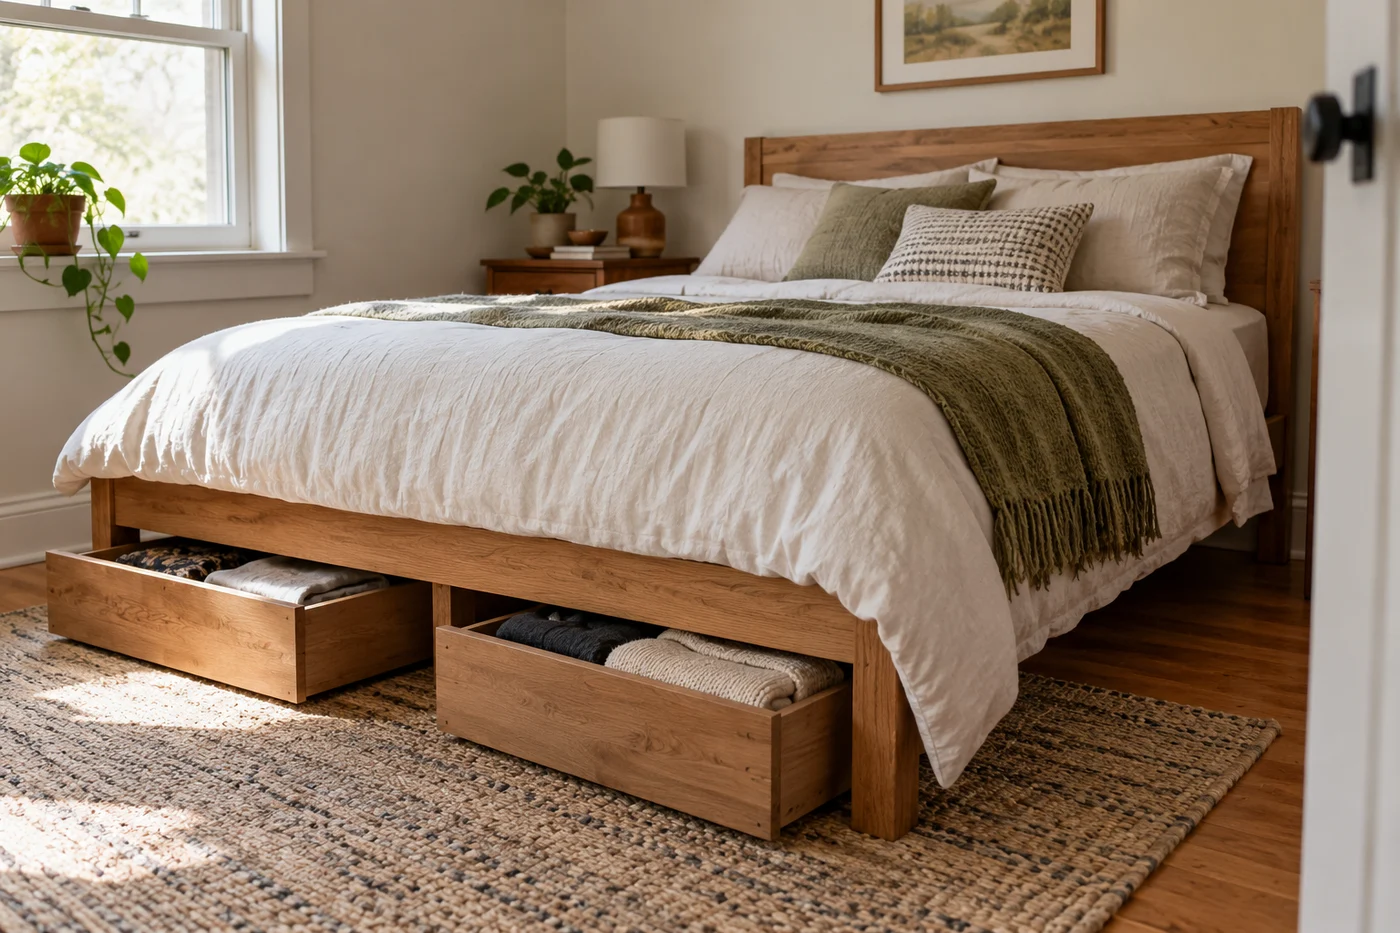
Useful DIY under-bed storage starts with a container that fits and a clear route for pulling it out. You can repurpose a shallow lidded box, a clean storage case, or a sound spare drawer rather than constructing a new bed or buying a matching set.
This guide covers removable organizing projects. It does not provide a carpentry plan, modify a bed frame, or recommend homemade risers. If you want to build a wheeled wooden drawer, use a complete, suitable construction plan and the hardware manufacturer’s instructions. Adding wheels changes overall height and introduces attachment and load requirements.
Choose the contents before building compartments. For specific packing needs, see under-bed shoe storage and storing seasonal clothes under a bed.
Map the space you can actually use
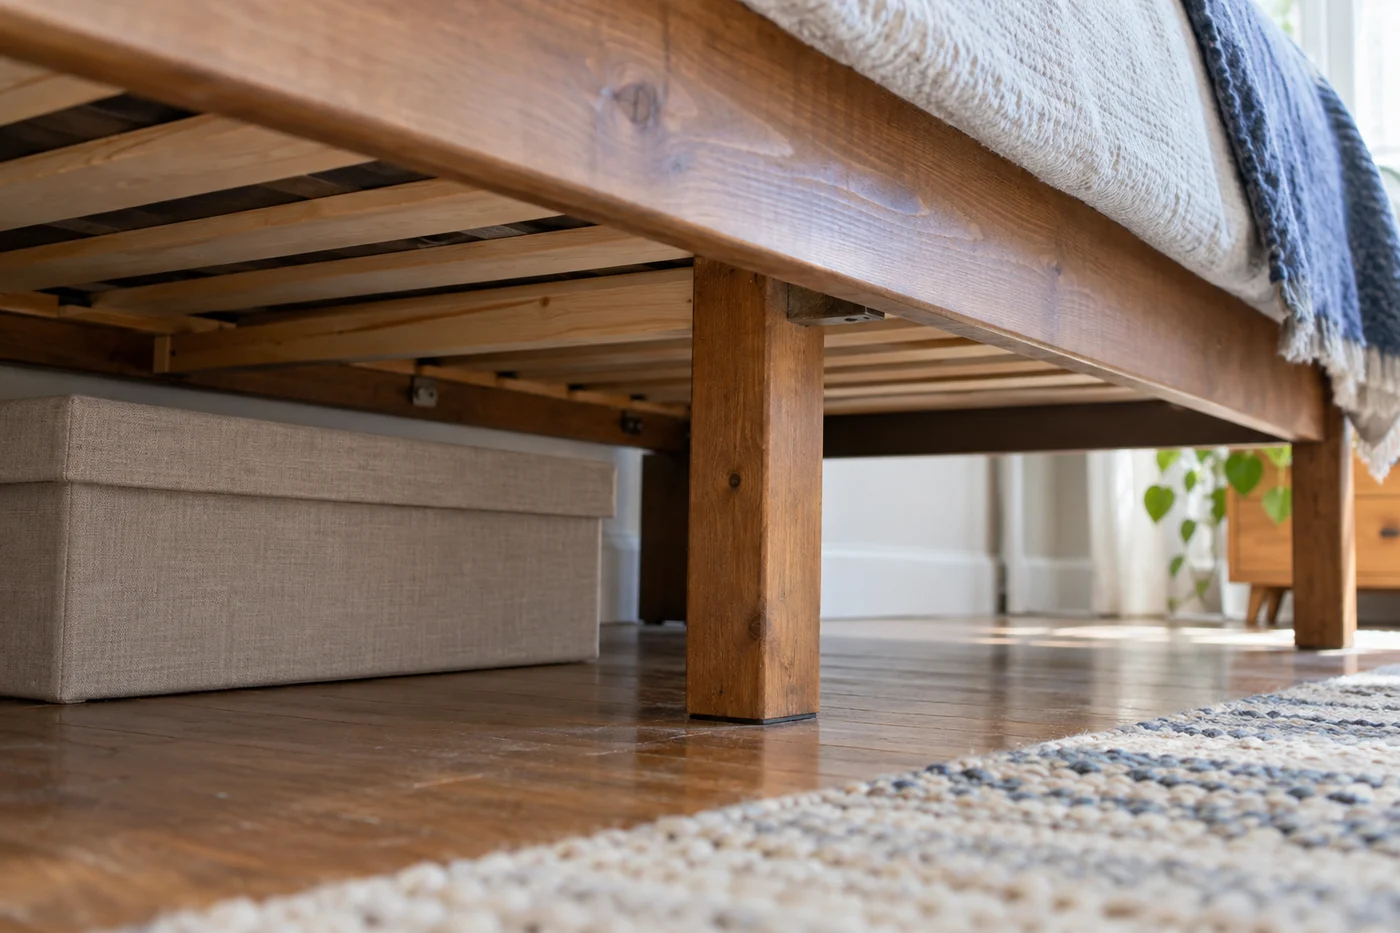
Look beneath the bed from every accessible side. Center legs, braces, and crossbars divide the floor into smaller bays. The mattress footprint does not tell you how much usable storage space you have.
Measure the lowest obstruction along the route into each bay. Measure the width between supports and the depth you can reach. Include a lid, handle, filled contents, and any existing wheels when you measure a candidate container.
Look outside the bed too. A box needs floor space to come out before you can open it. If a bedside table blocks that route, a short box you can lift may work better than a long case. A bed against a wall may leave only one practical access side.
Sketch the supports and reachable bays. Give each bay a job, such as spare bedding or seasonal belongings. Leave a route for cleaning rather than treating the entire floor as something to fill.
Choose a container by its condition and shape
Start with what you own, but reject anything broken, damp, dirty, or difficult to move. A container is not useful simply because it is free.
A shallow plastic box with its original lid can suit ordinary stored items. Check for cracked corners and a closure that still works. Measure the widest part of the rim, not only the base.
A zippered fabric case suits light, soft items when it fits the bed and you can lift it without straining its handles. Its sides may bulge when filled. Measure it after packing and check whether its bottom drags on your floor.
A spare drawer can become an open tray if it is sound, has no sharp edges or projecting screws, and moves without damaging the floor. Avoid removing a drawer from furniture you still use if that affects function or stability. Do not install improvised wheels without an appropriate construction plan.
A clean cardboard box can help you test a layout before choosing a permanent container. Keep it dry and inspect its condition. Ordinary packaging is not archival protection for precious textiles or papers.
Make a divided tray for small items
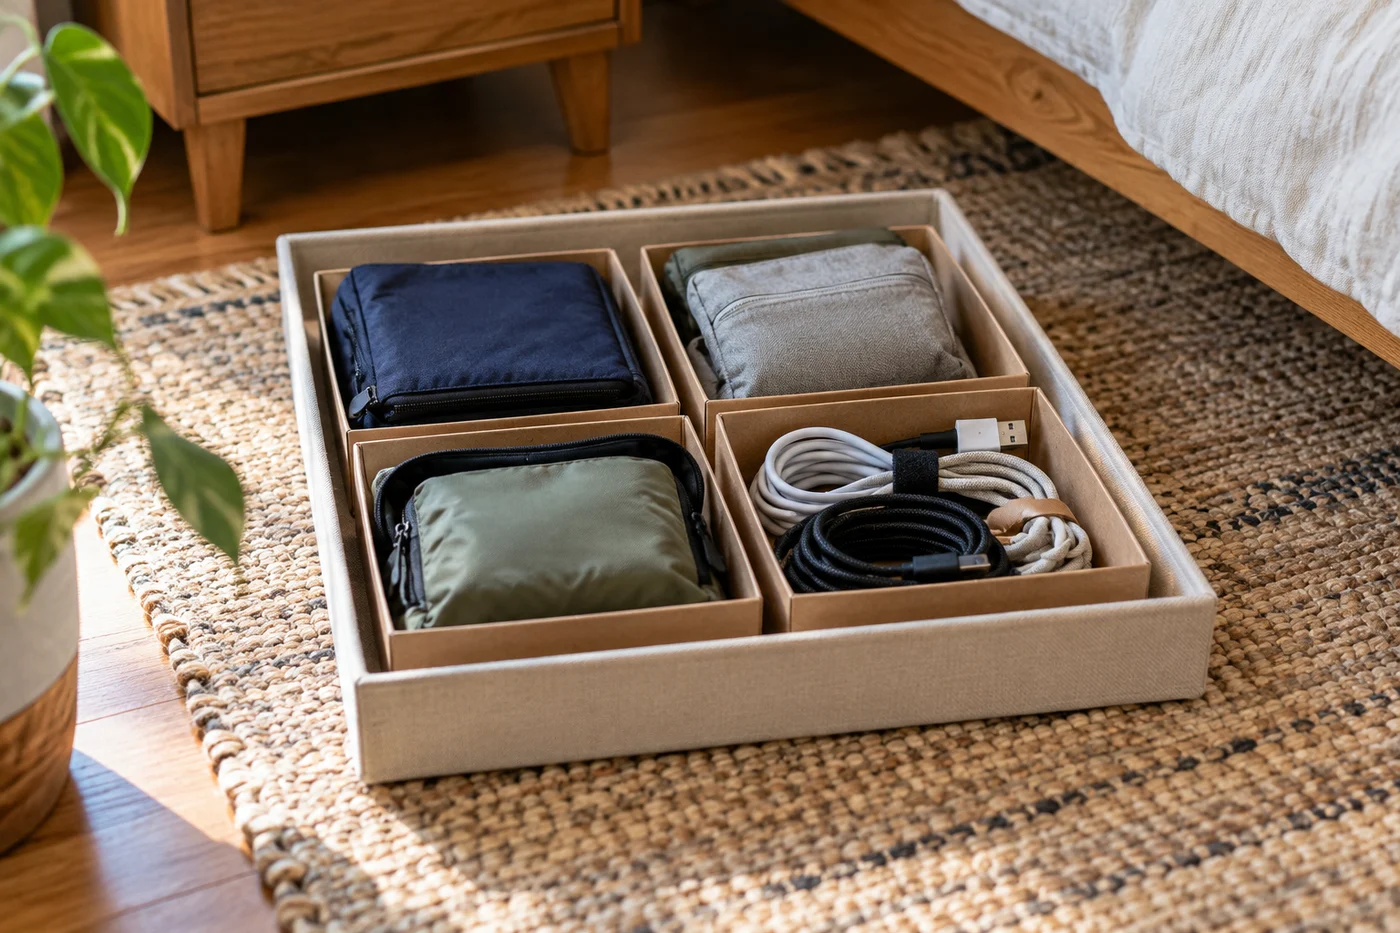
Choose a shallow container you can comfortably lift when filled. Set removable smaller boxes inside, then assign each a single purpose. You could separate travel pouches, spare cables, and small accessories.
Keep heavy or sharp objects elsewhere. Do not let loose hardware roll beside soft belongings. Use closed inner containers for small pieces that could spill as the tray moves.
Before making labels, lift and set down the tray. If the inner boxes shift, change the arrangement or choose more closely fitting boxes. Do not glue everything down merely to make it look tidy. Removable dividers let you change the layout and clean underneath.
A label on the outward-facing edge is more useful than one on a hidden lid. Make it removable if the contents change. Keep labels off handles and moving hardware.
Create a bedding case that opens easily
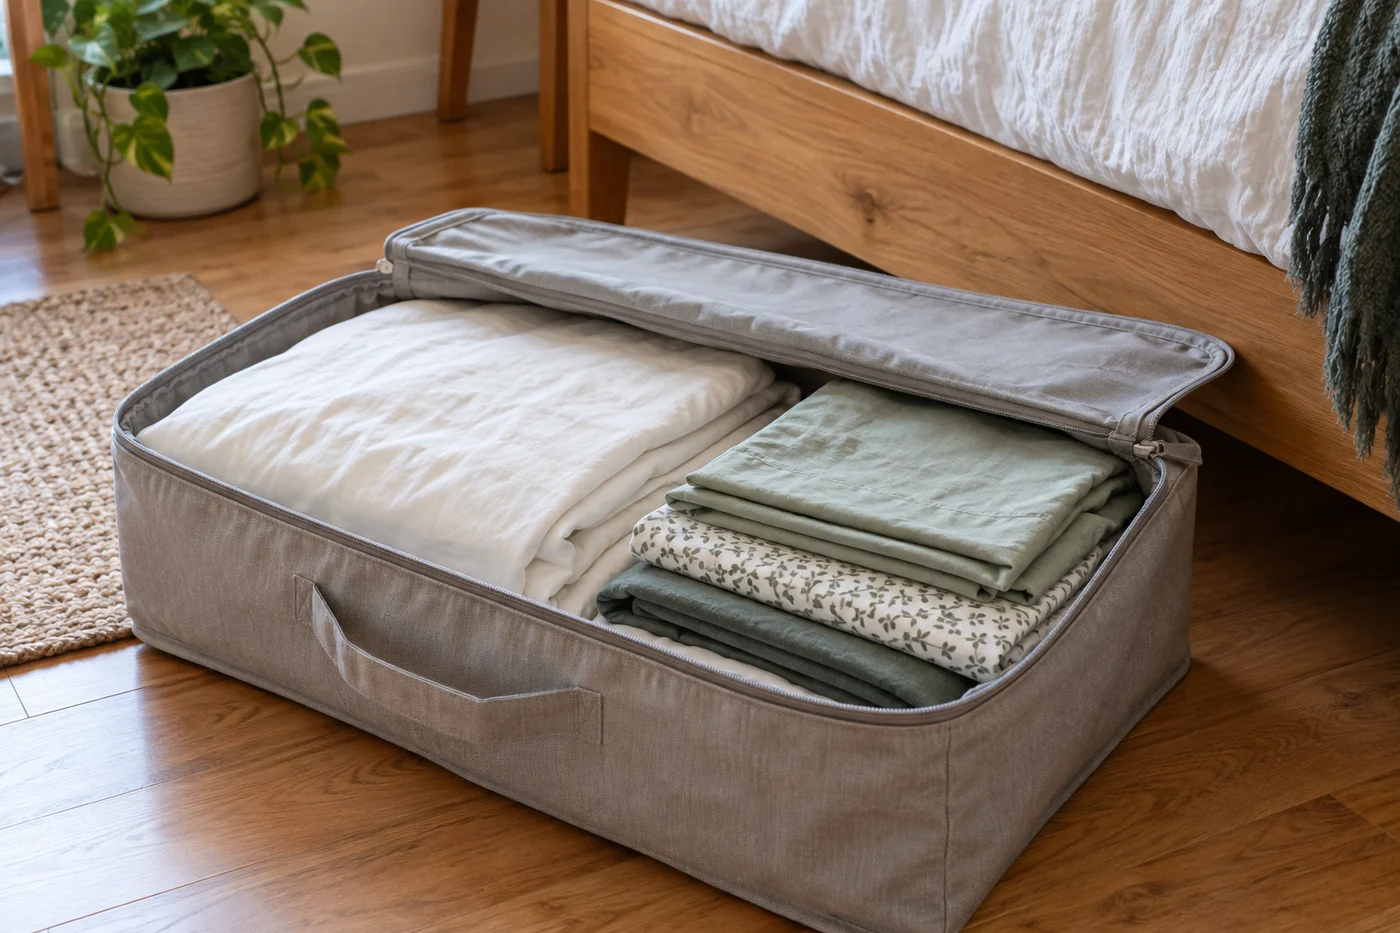
Use a clean case or lidded container. Group bedding by set rather than by fabric type, provided the complete set fits without forcing the closure.
Fold to the container’s depth. Keep fabric clear of zipper teeth. With a rigid lid, do not compress the contents until it bows. A closure requiring pressure and two hands is inconvenient when you are kneeling beside the bed.
The Canadian Conservation Institute’s textile-care guidance emphasizes clean, dry textiles and a suitable storage environment. Apply that basic principle to ordinary bedding while following its own care label. Never pack a damp set intending to finish drying it later.
Keep bedding separate from shoes and cleaning supplies. If you need clothing-specific packing steps, use the under-bed clothes guide rather than turning this one case into a mixed collection.
Make retrieval part of the project
Do not add a handle if the container already has a usable one. Homemade attachments can fail, and an adhesive handle is not a substitute for a suitably designed grip. Choose a container you can move safely.
For a case with existing handles, keep the outward-facing one clear. Position it so you can reach it without catching the bedding above. Test it first with a light load.
On hard flooring, inspect the base for rough edges or trapped grit. Follow the floor manufacturer’s care instructions. If the container catches or marks the surface, lift it or change containers rather than dragging harder.
On carpet, a soft case may buckle when pulled. Remove it with two hands if you can do so comfortably. A purpose-built rolling container may be more practical, but check its full height and instructions before choosing one.
There is no requirement to fill every reachable bay. One useful container is a better starting point than several that compete for the same narrow pull-out space.
Assign storage by how often you use it
The closest bay should hold things you retrieve most often. Seasonal supplies can sit farther in only if you can reach them without moving the bed or climbing over belongings.
Use one category per container. A bedding case and a travel tray have different routines. Separating them makes labels useful and reduces searching.
Write down what is in a less frequently opened box. A brief list beside the handle is enough. You do not need a complex inventory, but you should be able to locate one object without opening every case.
For a shared bedroom, divide bays by person or by task. Choose the arrangement that makes returning an item obvious. Symmetry matters less than each person being able to use the system.
Keep the system removable
Leave room to take containers out for cleaning. If a bay cannot be reached, do not assign belongings that need regular checks to it.
When you rotate seasonal contents, check closures, handles, surfaces, and the floor beneath. Replace a failing container instead of reinforcing its damaged handle with more tape.
Keep vents, cords, and equipment clear. Do not hide power strips in stored belongings or interfere with a lifting bed mechanism. Follow the bed manufacturer’s instructions where its structure or moving parts constrain storage.
A removable layout can move with you, and the containers can return to another job. That flexibility is a good reason to try existing cases before a construction project.
Common questions
Can you add wheels to any box?
No. A conversion needs a suitable base, compatible fasteners, and hardware selected for the intended load and floor. This guide does not establish those requirements. Use a complete construction plan or a container designed with wheels.
Do you need bed risers?
Choose storage that fits existing clearance first. Only consider a support system allowed by your bed manufacturer and installed according to appropriate instructions. Do not improvise stacked supports to accommodate a box.
What if nothing fits?
Keep the space open for cleaning or use another location. Under-bed storage is optional; every gap does not need to become a drawer.